
And Now For Something Completely Different
Ever since the Khorne Codex came at us from left field my blog has been all blood, blood, blood! I can't help it, Khorne has always been my secret favorite, sorry Space Wolves but you are still my very close second. Time to take it down a notch, away from murder and mayhem to something completely practical - putting 40K art on your wall for less money than ordering a pizza.
Game Room Planning
I'm making plans for my very own game room, the project starts early next month with furniture rearrangement and a gaming table to be built. For some that is enough but for the rest of us we want to game in an epic space. Well, epic, that might be a little too ambitious (and costly) and I will settle for a pleasing atmosphere to game in. So I'm planning to turn the bare room walls into art galleries unto themselves. Since this will be my game room, the place where I will entertain my friends, play lots of 40K/board games and record some club video battle reports I want it to be inviting and say something about me.
 One project I will be tackling is getting my prized autographed pictures mounted in preservation frames so they won't degrade (they will end up lasting far longer than I will). Getting autographs is just a minor hobby of mine and I only seek autographs of my favorite entertainers, thus my collection is small including Lindsey Stirling, Tom Baker and Norman Reedus. Still that is a lot if I am going to get them all framed for preservation and that is never cheap. But once framed they will be a lot of fun for me and a great way to personalize my game room with some of my favorite autographed pictures. I am making the room mine.
40K Art on the Cheap
OK, so the title of this post said cheap. So here is the cheap part. I am going to make some framed pieces of 40K art for less than $15 each. To make your very own 40K framed wall art you are going to need the following supplies.
Supplies List
- glass cleaner and towel
- screwdriver, flat
- tape, invisible/scotch tape will do
- box cutter or similar device
- White Dwarf magazine with a picture page you like
- 10" x 13" picture frame matted to 8" x 10"
 |
| Everything you need. |
I would assume you have all the supplies except the frame. The frames I use are from Big Lots where they have a wide selection of frames for good prices. The frame I am using is the Homestyles 10x13 matted to 8x10. This particular frame is about $12 at Big Lots. It is a nice looking frame but cheaply made so before you buy give it a good look over for any damage, chips, flaws and especially for scratches on the glass. Make sure you get a frame that says it is matted to/for 8x10.
You don't have to use a 10x13 frame but I highly suggest you buy a frame that is matted to 8x10 otherwise a White Dwarf page won't fit properly and that can cause all kinds of problems you don't want. If you desire a better made frame I suggest trying Wayfair.com , West Elm. or shopping your local Micheal's craft store.
Step by Step Guide
Just follow my steps and even you can be as artistic as a sissy Eldar. OK, maybe not that artistic. Actually not artistic at all, the art part is already done for you - all you have to do is frame it.
This guide is for those whom are framing challenged like I was. I did all the trails and errors and have perfected my framing craft to share with the 40K community.
1. Find or buy yourself a copy of White Dwarf magazine (or Visions or whatever) with a cover or page inside that you think will look great on your wall.
2. With the box cutter carefully remove the page. Go slow and extra careful at the staples as that is the area where you will have the most trouble. Try to make as smooth of a cut as possible but a little mess up is no big deal as it will be hidden behind the matting. When you are cutting try not to get any sweat from your hand onto the picture, washing your hands first is a great idea. When you are done place the page aside for now.

4. Remove the matting and place it aside.
5. Clean the glass (both sides) with cleaner and a towel. Make sure you don't leave any streaks or you might be disappointed once you get everything finished. Also avoid getting any fingerprints on the glass from now on or you might be seeing fingerprints in front of your picture! Return the glass inside the frame and double check the glass is clean and free of any debris or hair.
6. Fix the picture to the mat. Here is the tricky part if you have no experience but easy if you follow these tips.
- Use a flat surface.
- Turn the picture upside down so you are looking at the back of it.
- Looking at the back of the picture carefully place a small piece of tape at each top corner with the sticky side of the tape facing down towards the table (you don't put tape on the front side that you want to view).
- Now turn the picture over, the side you want to view when framed.
- Take the mat and carefully center it over the picture until it looks even and just the way you want it. Be sure the beveled side (angled edge) of the mat is facing you. Once satisfied slowly press the top corners of the mat down so the tape sticks to the mat. Don't press down to hard on the tape in case you have to do a readjustment.
- If the picture moved then remove the tape from the mat and readjust.
- Now double check your handiwork and if it looks good turn the mat over (back of picture facing you) and tape the bottom corners to the mat.
- Turn the matted picture over one last time to double check the picture. Make sure there is no pieces of dust, debris or hair on the picture.
 |
| It might be hard to see but the back of the picture has all four corners scotch taped to the mat. |

With a little patience and not a lot of money
you can have a wall of 40K art.
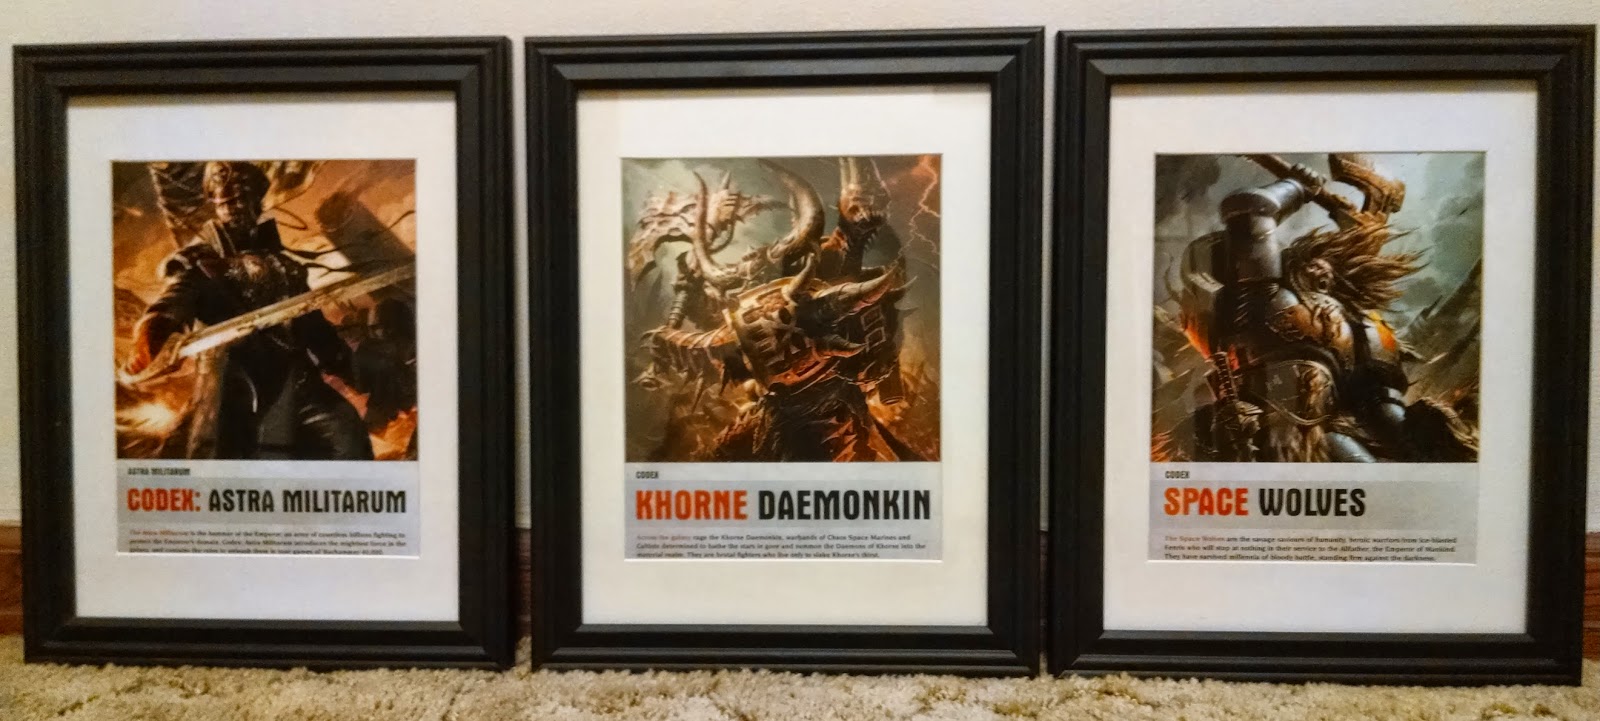 |
| Get it? Astra. Chaos. Wolf. That is how my blog got it's name, from the three armies I own. |
 |
| Photobombed. Emilou is such an art critic. |
 |
| She walked away not impressed. When is a cat ever impressed? ++++ |
Lovely idea Anthony! Thanks for the guide!
ReplyDelete